
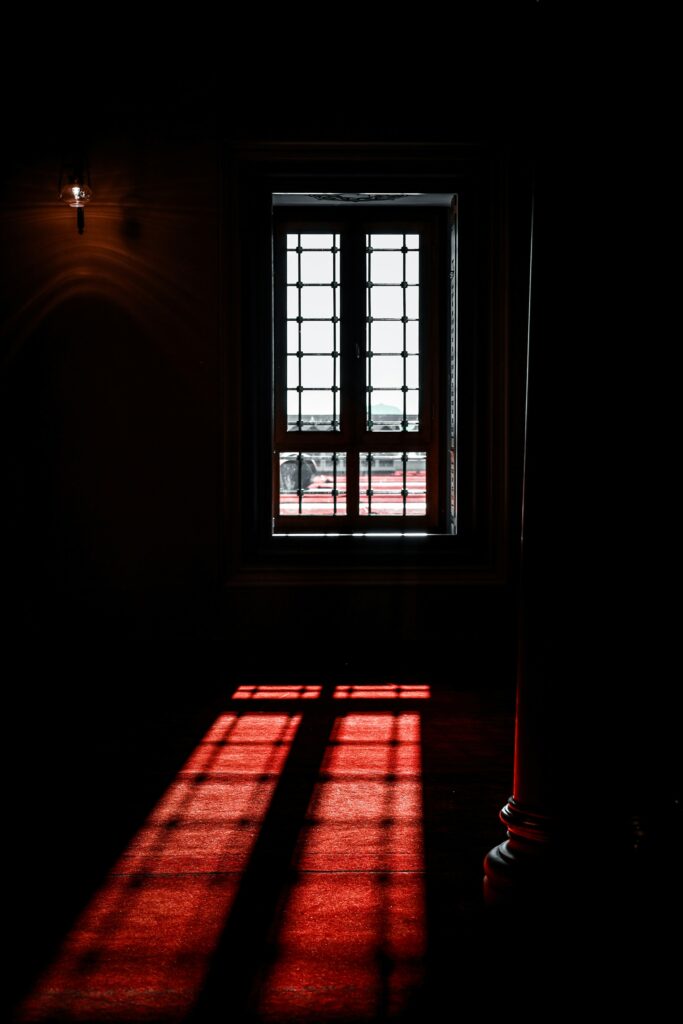
Choosing between natural light vs studio lighting is not simply a question of which one looks better. Both can produce beautiful photographs, but they behave differently and suit different kinds of shoots.
Natural light can be soft, flattering and wonderfully spontaneous. Studio lighting gives you consistency, control and the freedom to shape a very specific mood. The best choice depends on the images you want, the time available and how much predictability your production needs.
This guide explains the strengths of both approaches so you can arrive at your next Brighton photoshoot with a clearer plan.
What is natural light photography?
Natural light photography uses sunlight as the main source of illumination. Indoors, that usually means positioning the subject near a window, doorway or skylight. Outdoors, it may involve working in open shade or scheduling the shoot around a particular time of day.
Its greatest appeal is its simplicity. A good window, a reflector and careful positioning may be all that is needed to create a warm, believable portrait.
However, natural light is always changing. Clouds move, the sun changes position and the quality of light can look noticeably different from one hour to the next. That unpredictability is part of its charm, but it can also make a tightly planned shoot more difficult.
What is studio lighting?
Studio lighting uses controllable artificial light sources, such as flash units or continuous lights, together with modifiers that shape the light. Softboxes, umbrellas, reflectors and grids can make the light broader, softer, more directional or more dramatic.
The important word is control. Once a studio setup has been created, it can remain consistent throughout the session. That makes it easier to photograph several people, products or outfits while maintaining the same visual style.
Studio lighting may appear technical at first, but a successful setup does not need to be complicated. One carefully positioned light can create a polished result when its direction, distance and softness are considered properly.
Natural light vs studio lighting: the main differences
The practical differences become clearer when you compare the two approaches across the areas that matter most during a photoshoot.
Mood and appearance
Natural light often feels open, gentle and familiar. It works particularly well for lifestyle portraits, personal branding and images intended to appear relaxed or candid.
Studio lighting can imitate that softness, but it can also go much further. It can create crisp commercial images, dramatic shadows, bright beauty lighting or a darker editorial atmosphere. The photographer is not limited to the mood created by the weather.
Consistency
Natural light can change during the session. An image photographed at the beginning of the shoot may have a different colour or contrast from one taken later.
Studio light stays predictable. Once the exposure and positioning are correct, the same look can be reproduced across a complete series. This is particularly useful for team headshots, catalogue photography and campaigns that need a consistent visual identity.
Flexibility with timing
Daylight-dependent shoots need to respect the time of day and weather conditions. Winter afternoons in Brighton, for example, provide a much shorter working window than summer afternoons.
Studio lighting makes the session far less dependent on daylight. You can create a bright daytime look during an evening booking or maintain the same atmosphere across a longer production.
Movement
Natural light may require slower camera settings when the room becomes darker. That can make it harder to freeze fast movement.
Flash lighting is especially effective for dancers, fashion movement, energetic portraits and any shot where sharp detail matters. The brief burst of light can freeze motion even when the subject is moving quickly.
Learning curve
Natural light is often easier for beginners to recognise because you can immediately see how it falls across the subject. The challenge is learning how to position the subject and adapt when the light changes.
Studio lighting requires a little more setup and testing. Once the fundamentals are understood, however, it becomes repeatable. You are creating the light rather than waiting for it to cooperate.
When natural light is the better choice
Natural light may be ideal when you want:
- Soft and understated portraits
- A candid or lifestyle feeling
- A quick setup with minimal equipment
- Images that feel connected to a real location
- A warm, airy personal-branding style
- To work with a small production team
It is particularly effective when the room has a large, well-positioned window and the weather is reasonably stable. A reflector can return light into the shadow side of the face, while a sheer curtain can soften harsh sunlight.
Remember that “natural” does not mean “unplanned.” The direction of the window, the background and the subject’s position still make a significant difference.
When studio lighting is the better choice
Studio lighting is usually the stronger option when you need:
- Consistent results across many photographs
- Precise control over highlights and shadows
- Reliable colour and exposure
- Sharp images of movement
- Dramatic or highly stylised lighting
- Freedom from weather and daylight changes
- Repeatable headshots for different team members
- Clean product or e-commerce photography
It is also useful when the images will be combined in one campaign. Consistent lighting helps a website, catalogue or social media series look intentional rather than assembled from unrelated shoots.
You can review the studio facilities before your session on the Rainbow Studio equipment page.
Three simple studio lighting setups to try
You do not need a complicated arrangement to begin experimenting. These three setups cover a wide range of portraits.
1. One soft light at 45 degrees
Place a large, diffused light slightly above the subject and approximately 45 degrees to one side of the camera. Turn the subject gently toward the light and observe how it shapes the face.
This is a reliable starting point for headshots, personal branding and editorial portraits. Move the light closer for a softer result or farther away for greater contrast.
2. One light with a reflector
Use the same main light, then position a white or silver reflector on the opposite side. The reflector lifts the shadows without introducing another powered light.
This setup is useful when you want a clean and flattering portrait while keeping the arrangement easy to manage.
3. Two lights for a clean commercial look
Use one light as the main source and a second, lower-powered light to control the shadows or separate the subject from the background.
The second light should support the main light rather than compete with it. Start at a lower power and increase it gradually until the subject has the definition you want.
Can you combine natural and studio light?
Absolutely. Some of the most interesting photographs combine window light with a controlled artificial source.
A flash or continuous light can brighten the shadow side of a naturally lit portrait. Alternatively, daylight can remain visible in the background while a studio light gives the subject a clean, deliberate exposure.
The key is balancing colour and brightness. Daylight and artificial lights may have different colour temperatures, so the photographer should decide whether to match them or use the difference creatively.
This hybrid approach is useful when you like the atmosphere of natural light but cannot risk losing consistency during the session.
How to choose the right lighting for your photoshoot
Before choosing a setup, answer these five questions:
- What should the final images feel like? Decide whether the mood should be soft, energetic, dramatic, polished or natural.
- How consistent must the photographs be? A few creative portraits allow more variation than a complete staff-headshot library.
- Will the subject be moving? Fast movement may benefit from flash.
- When is the shoot taking place? An evening or winter booking should not depend entirely on daylight.
- Where will the photographs be used? Advertising, websites, press releases, e-commerce and social media may each require a different degree of precision.
Create a small visual reference board and share it with the photographer before the session. It is easier to select equipment and plan the setup when everyone understands the intended result.
For more preparation advice, read our guide to planning a successful photography studio hire in Brighton.
Common lighting mistakes to avoid
Choosing equipment before deciding on a look
The goal is not to use the largest number of lights. Start with the desired image, then select the simplest equipment that can create it.
Ignoring the background
Lighting affects more than the subject. Consider whether the background should be bright, dark, evenly lit or deliberately textured.
Placing the light too low
Light coming from below the subject can look unnatural unless it is a deliberate creative choice. For most portraits, begin with the main light slightly above eye level.
Failing to leave testing time
Allow time at the beginning of the booking to check exposure, shadows and reflections. Ten thoughtful minutes during setup can prevent a much longer correction process later.
Changing several things at once
When refining the setup, adjust one variable at a time. Move the light, change its power or alter the subject’s position, then assess the result before making another change.
Frequently asked questions
Is natural light always more flattering?
No. Soft natural light can be very flattering, but direct midday sunlight can create strong shadows and discomfort. A large studio modifier can produce equally soft light with much greater consistency.
Do beginners need several studio lights?
No. One light and a reflector are enough to learn direction, distance, softness and contrast. Adding more lights before understanding the main light often makes troubleshooting harder.
Is continuous lighting easier than flash?
Continuous lighting allows you to see the effect immediately, which many beginners find helpful. Flash can provide more power and freeze movement more effectively. The best option depends on the subject and intended result.
How much setup time should I include in my booking?
Allow enough time to unload, arrange the background, position the lights and make test photographs before the main shoot begins. A simple portrait needs less preparation than a multi-look fashion or product session.
Find the light that serves the idea
The natural light vs studio lighting decision should always support the story you want the photographs to tell. Natural light offers immediacy and a relaxed atmosphere. Studio lighting provides consistency and creative control. Combining the two can give you the strengths of both.
Begin with the purpose of the images, not the equipment list. Once the visual direction is clear, the right lighting choice becomes much easier.
Ready to put the idea in front of the camera? Book Rainbow Studio in Brighton and plan a setup that suits your shoot.